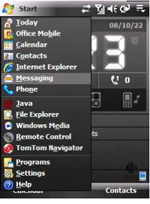
To setup an email account on Windows Mobile-based Phone:
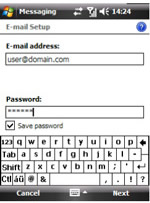
2. Enter your email address and password and go 'Next'
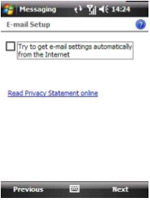
3. Untick the 'Try to get email settings from the Internet' tick box and go 'Next'
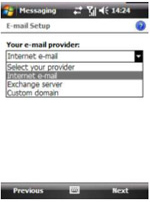
4. Select 'Internet e-mail' from the email provider dropdown list and go 'Next'
5. Enter your name and display name and go 'Next'

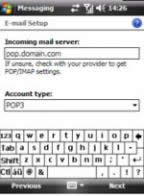
6. Enter your incoming mail server (pop.your-domain.com) and select the 'POP3' account type and go 'Next'
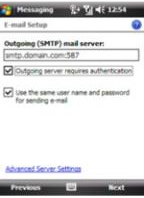
7. Enter your outgoing mail server (smtp.your-domain.com:587) and tick and go 'Next'
'Outgoing server requires authentication' as well as 'Use the same user name and password for sending email' and go 'Next'
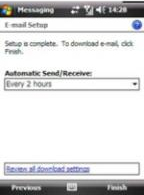
8. Select 'Review all download settings' and go 'Next'
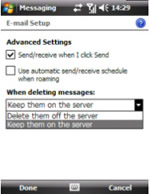
9. Select 'Advanced Settings' and go 'Next'

10. Select the 'Keep them on the server' option from the 'When deleting messages' dropdown menu and select 'Done'